Using JACRO UV film
Using JACRO UV Film
Above all, experiment - you might be the first to try a particular combination.
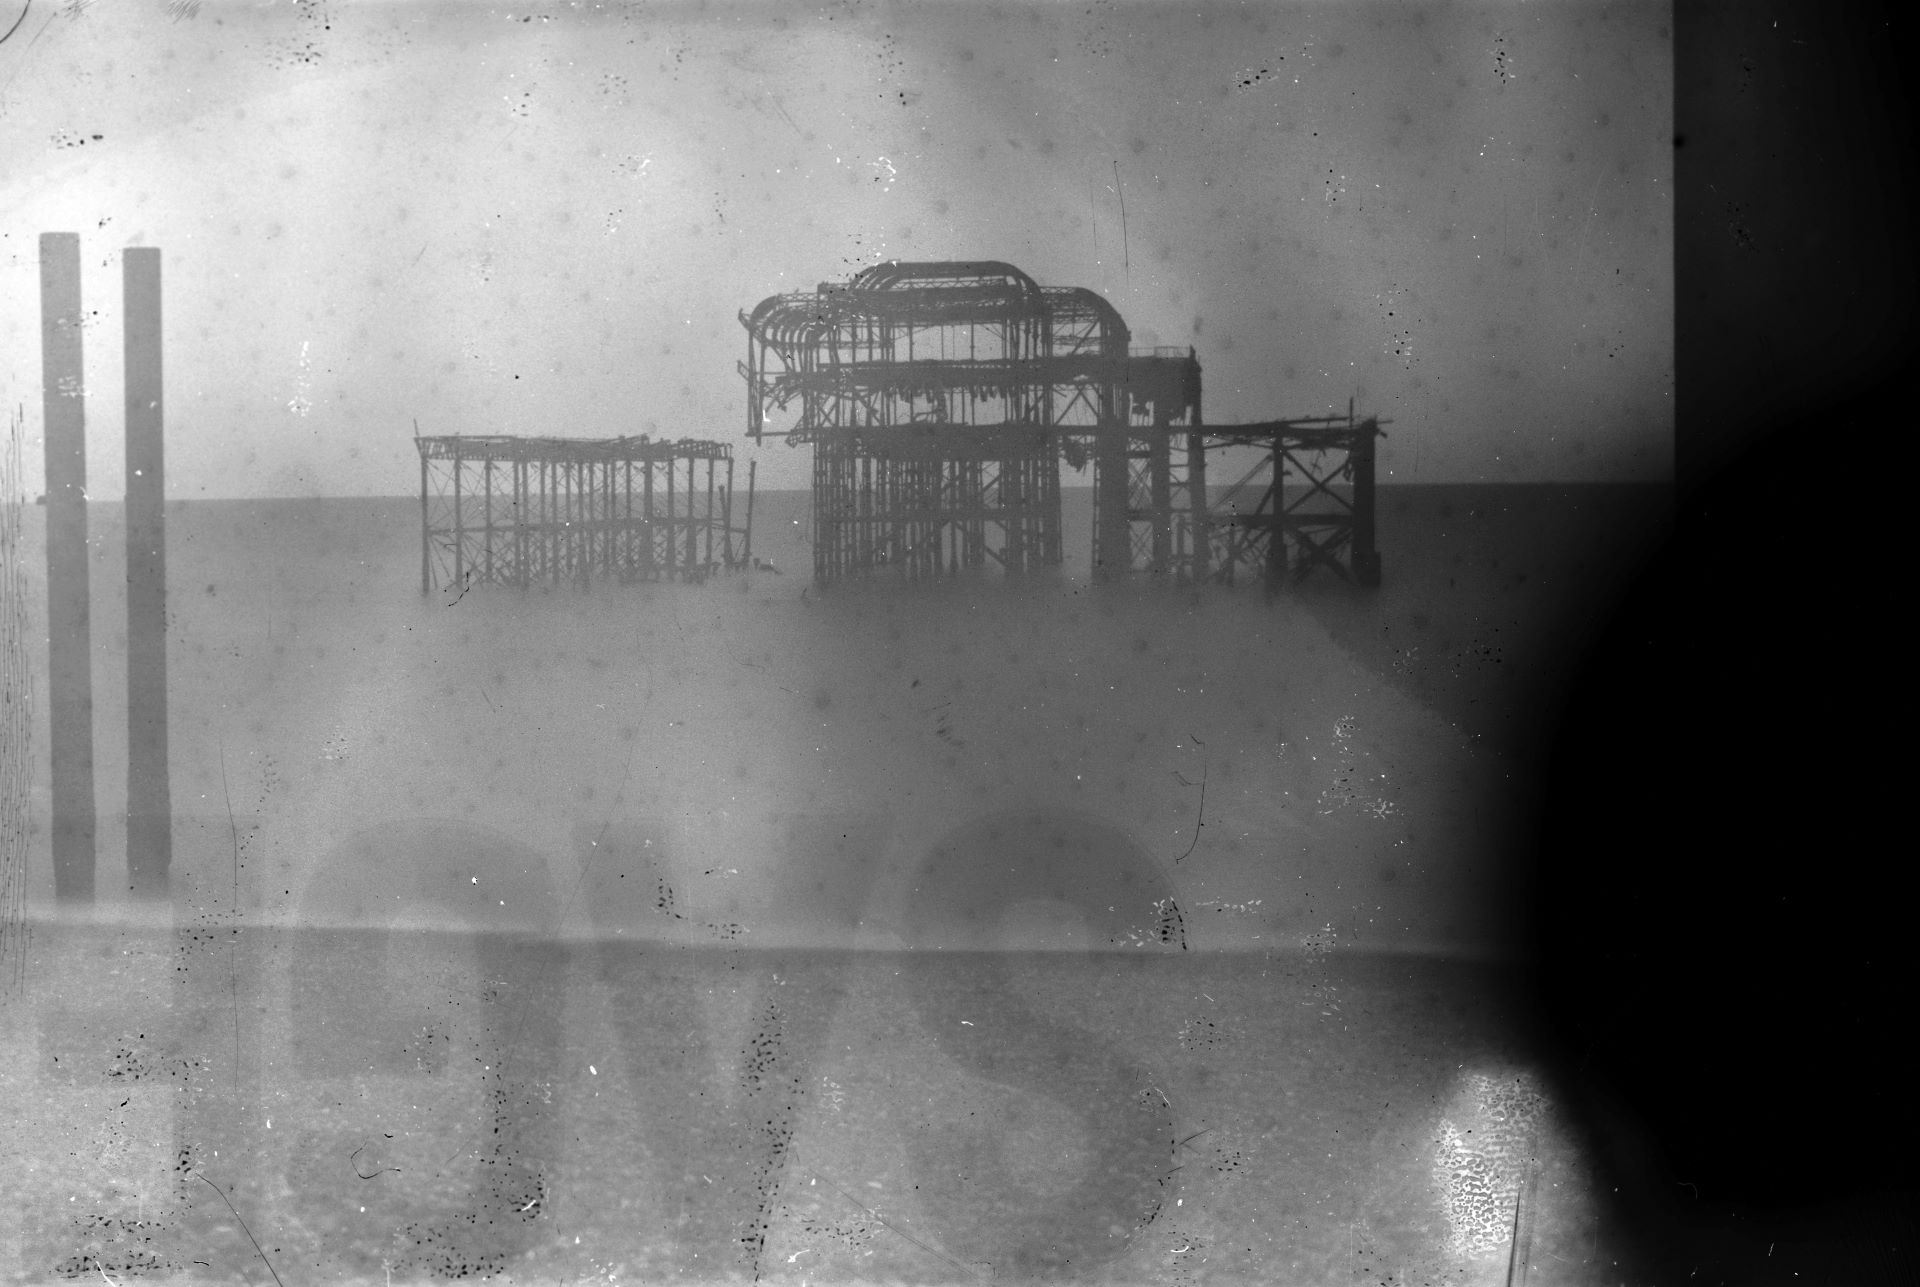
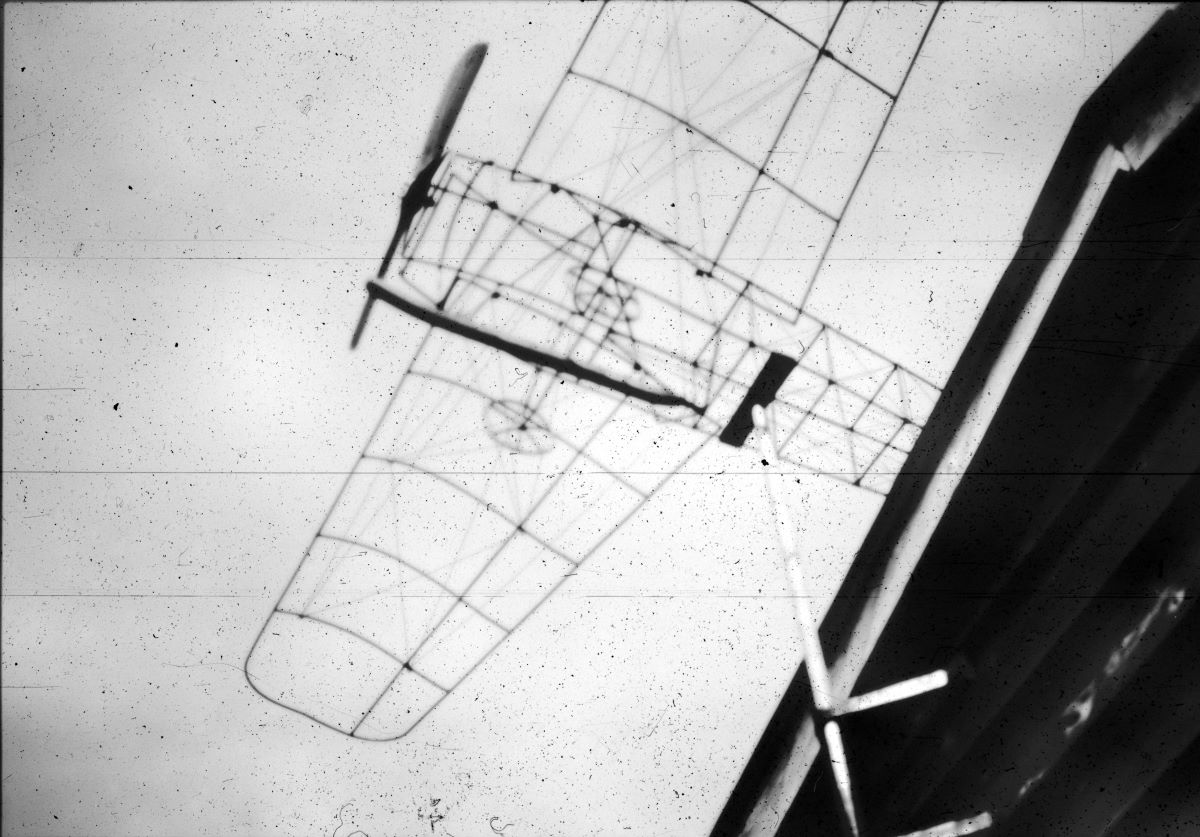
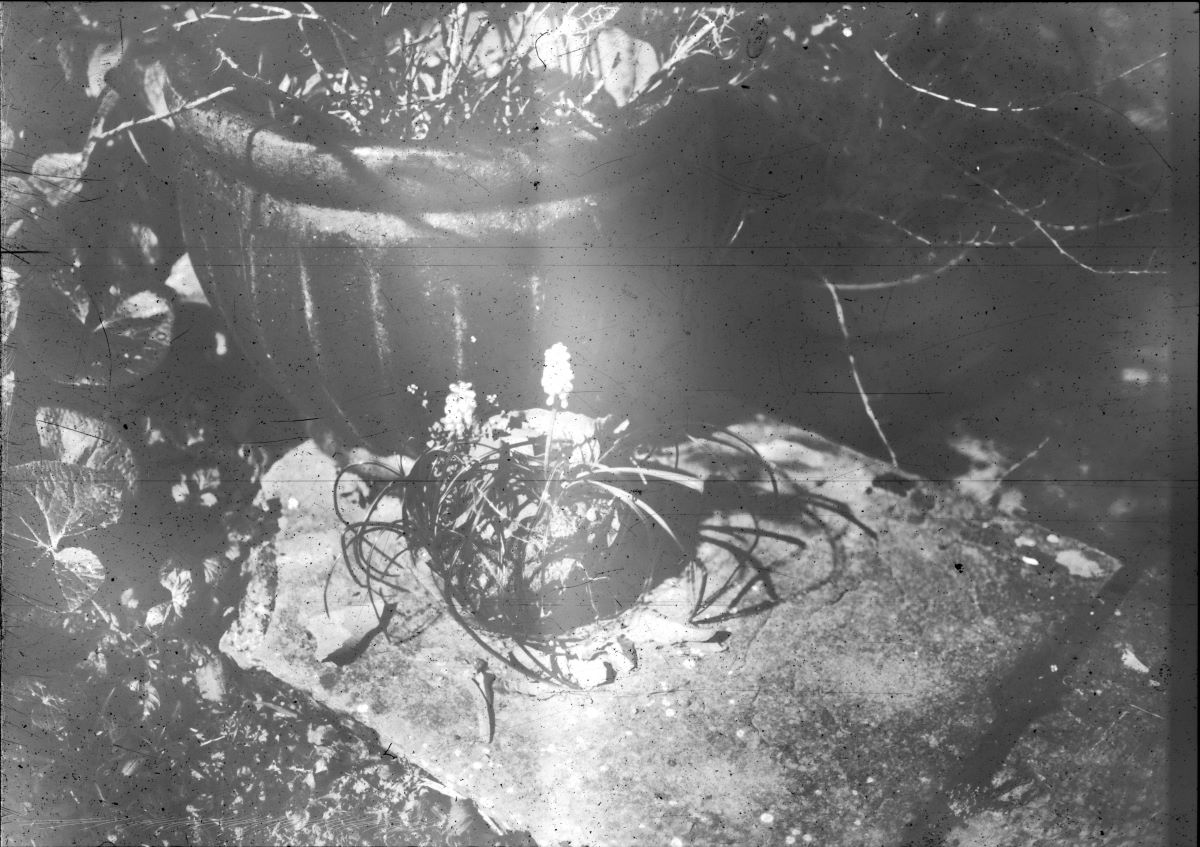
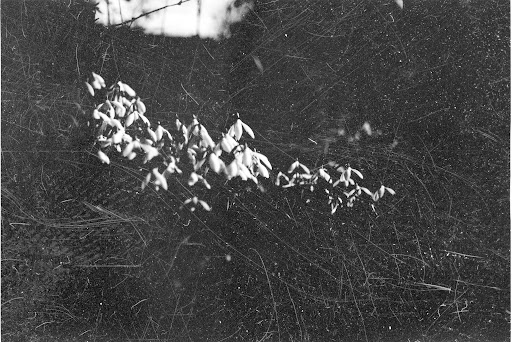
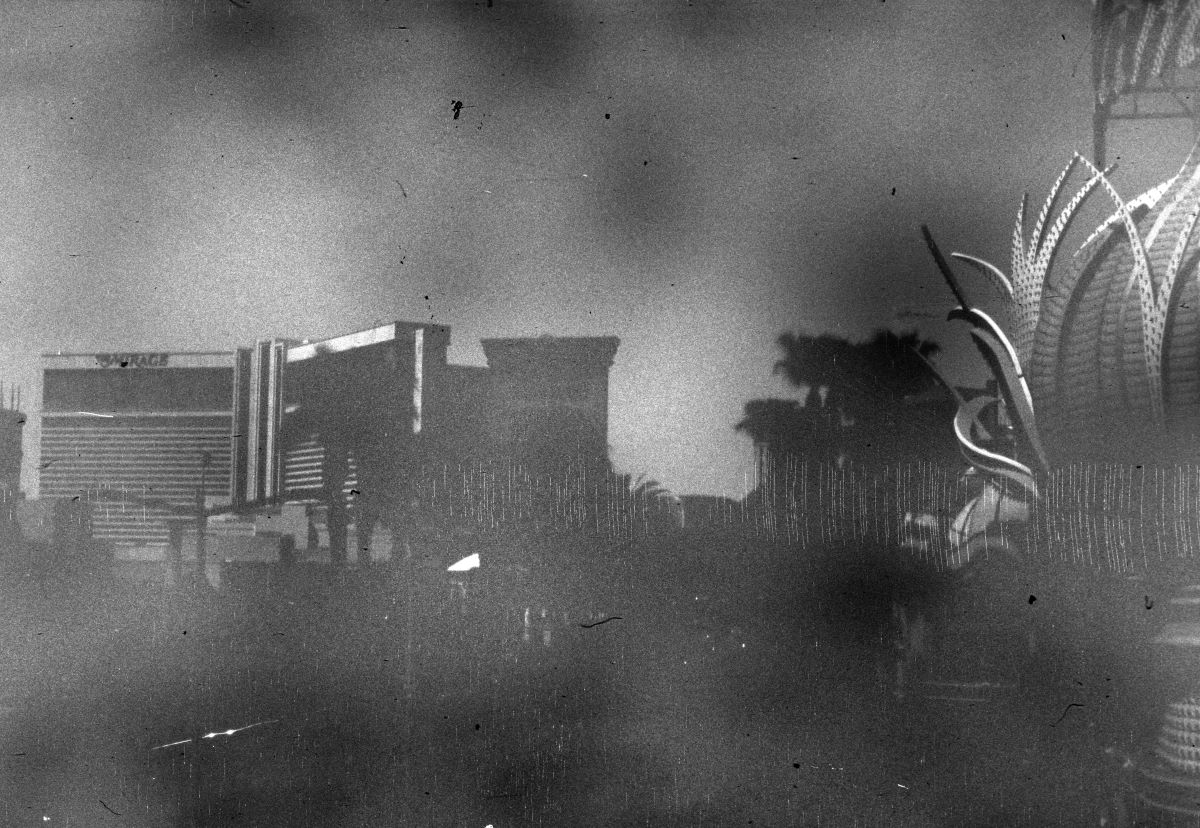
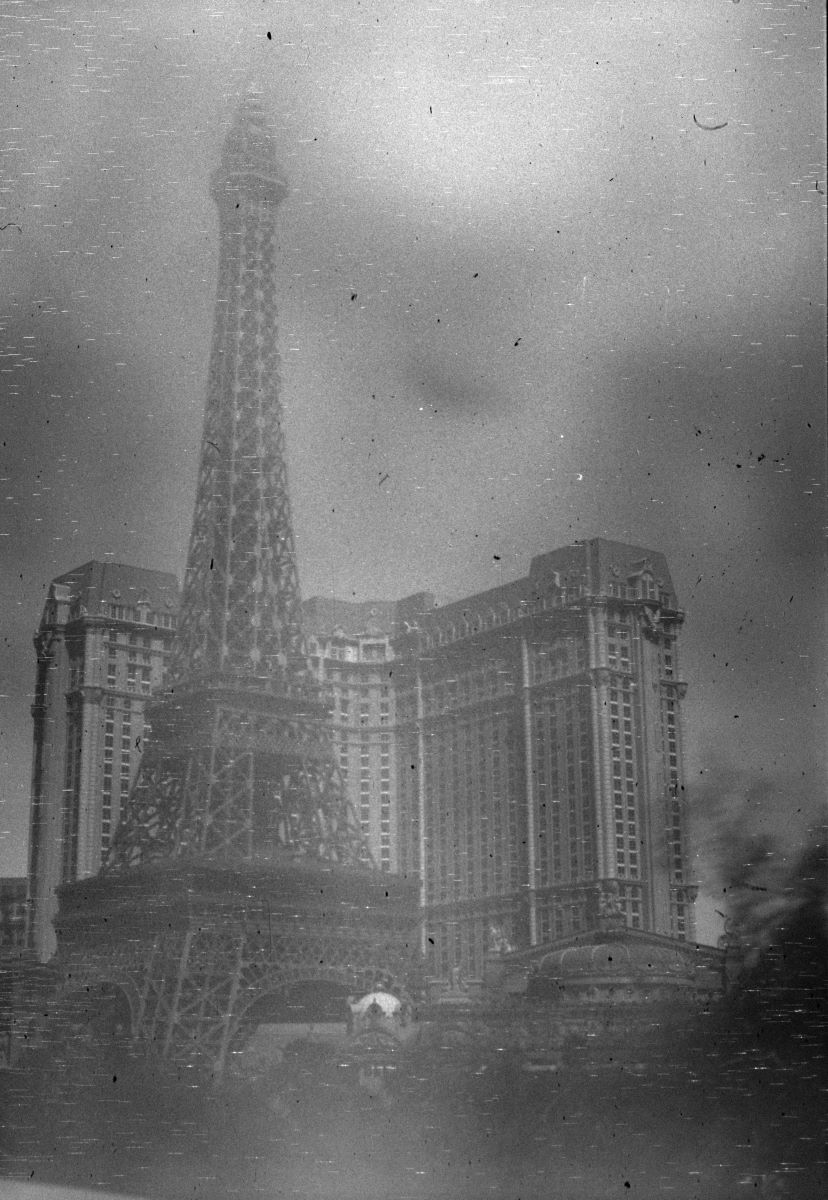
We have had experimental results with both landscapes and close ups, as well as contact prints.
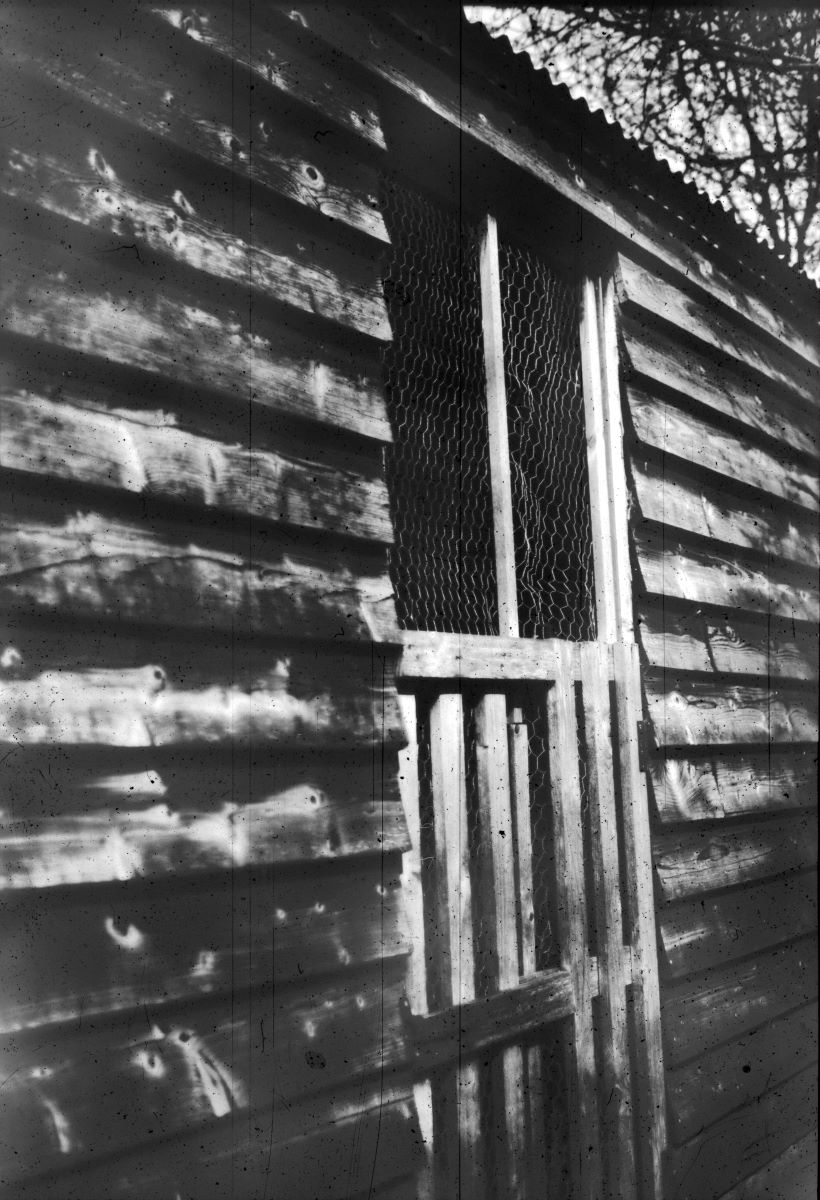
The detail is incredibly fine (see the chicken wire on the image of the shed).
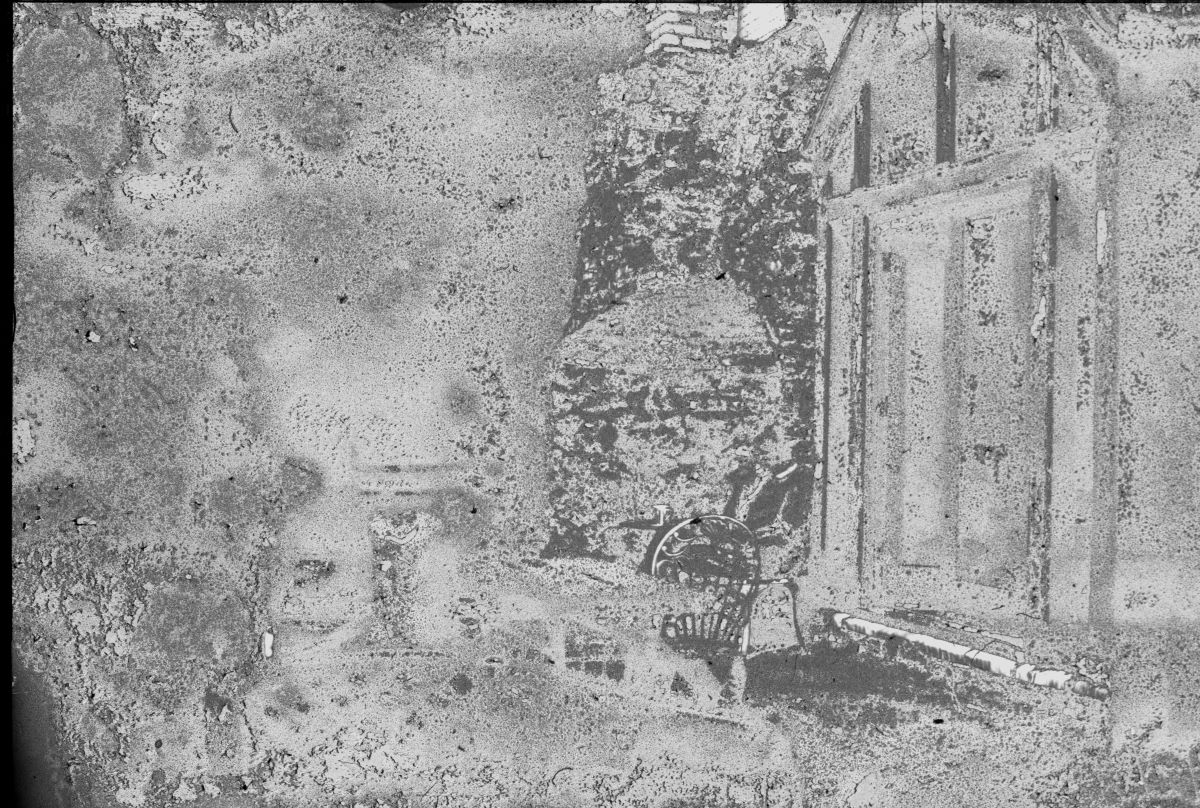
In one case we accidentally melted the emulsion, with remarkable effect (see the Impressionistic image of the shed with the chair).
Contact prints
Place the image, or negative onto the Jacro UV film. Shine a small UV flashlight over the image. Even a fairly small flashlight will expose the image in around 10 seconds.
Daylight photography
Exposure is generally around 10 minutes, around the middle of the date, ideally between Spring and Autumn/Fall, with a F8 stop. When in very high UV areas, or particularly hot days, then this can be adjusted, to create your own local exposure guide.
Handling JACRO UV
Although the film is UV sensitive, it is a very low ISO, around 0.001. Therefore it can be handled in daylight, but over time this will completely expose the film, so keep any exposure to daylight to a minimum.
Always store the film in a dark bag or dark canister.
When preparing the film, its exposure while being loaded into a camera will have no significant overall effect on the image, provided that it is exposed for a total time of less than a minute.
Given that the film can quickly and without chemicals be developed with heat, some users prefer to cut the film into 8 or 10-sprocket pieces, and then manually load each one from their dark bag into their cameras as they are exposed.
Alternatively, it is possible to let the image fade, and then re-expose it to create the image, in which case shooting an entire roll over several days/weeks is much more convenient using a canister rather than individual frames.
Developing
Either:
1: Develop with exposure to heat immediately for around 8 seconds after exposing the film. This will produce a negative print.
Each minute lost between exposure and developing the film will result in a loss of contrast as the image fades.
Or,
2: Allow the image to fade entirely (7 days), and then use a UV light to create a positive image (by exposing the full frame with the UV light) for 10 seconds. This activates the remaining photosensitive emulsion, producing an exact reverse of the image that has faded when it is then exposed to heat for 8 seconds. At our UK facility Jacro has a machine for developing film using this technique, although it is also possible to achieve good results manually.
A lack of contract generally indicates that the heat was too low, or not exposed for long enough.
Heat
For heat we recommend around 8 seconds at 90 degrees.
The can be achieved with a variety of sources: heat gun, clothes iron, radiator, hot water in a container (like an empty aluminium can, or glass jar).
In all cases WEAR GLOVES and be extremely careful. 85 degree temperatures will quickly burn skin. Never expose the film around children, or leave any hot surface unattended.
Storing JACRO UV film
JACRO UV Film should be stored in an air tight canister away from any other film.
Do not store JACRO UV negatives with silver halide negatives, as the long term effect of storing the two together over a long period could have adverse effects on the silver halide negatives.
Safety
Burns
Take every precaution not to burn yourself when developing the film. Always wear heat proof gloves when handing hot objects. Do not expose any skin to heated surfaces, and ALWAYS make sure that hot surfaces are monitored until cool. Never develop film in an area where children could come into contact with hot surfaces.
Health risk
UV Light causes cancer. Always protect yourself to UV light, including using sunblock when outside. Make sure that the body is not exposed to UV light while making contact prints or developing the film. UV light can be reflected, so always protect yourself from both direct and indirect exposure to any artificial UV sources.
